“An ounce of prevention is worth a pound of cure.” – Ben Franklin
In this article, we’re wanting to give you the basics on what you need to do to keep your fences and gates looking beautiful and giving you trouble-free security. If you’d rather just contact us and have us do these things for you, call us at 800-562-5770 and we’ll work with you to get it done!
Fence Maintenance – How To Keep Your Fencing (and Gates) Looking Good for As Long As Possible
Hi! You have a fence around your property, and you are safe, snug, and secure. That’s got to feel good.
We want you to keep that way, and you can, by following the key upkeep requirements for the materials used in the manufacture of your particular system.
If you wish to make your investment lasts as long as possible, then look through this article, find the material for your fence, and follow the essential rules.
Gate Operator Maintenance is the same regardless of your fence material
When it comes to your gate operator, it doesn’t matter if your installation is aluminum, vinyl, composite, wood, or iron. What you do to keep your gate moving well with the motor is the same.
If you have gates as part of your installation, it is necessary to lubricate from time to time all of their moving parts. In all gates, this would include minimally the hinges and any latching mechanism. Silicone or any lightweight lubricant, such as WD40, will do.
With driveway gates, you need occasionally to inspect and adjust any electric gate operator and all their attendant parts. Check out the gate opener mechanism, any track or articulate arms, etc. (Note that this is a dangerous activity and only professionals should service electric gate operators.)
Here are the things that we do in every gate operator inspection and adjustment:
- Visual & auditory inspection of all your gate’s moving parts, for a smooth operation of the gate.
- Lubricate all hinges, rollers, bearings, chain, gearbox, & any other moving parts including adjustments as needed.
- Check Photo Cell & all safety devices for proper functioning and adjustment.
- Inspect belts, pulleys, sprockets for alignment, tightness, and wear.
- Adjust limit switches, limit knots or limit cams for proper opening and closing of the gate.
- Tighten loose electrical connections. Check for frayed or loose wires and integrity in the control panel & motor.
- Look for brackets, track (sliding gates), and fasteners and make sure that they are securely mounted.
- Inspect induction loops and loop detectors for proper functioning and make adjustments as needed.
- Test the input function of entry access controls. (Fire strobe, Knox, radio control receivers, antennas, phone, etc.)
- Review the mechanical backup opening device, and battery backups for reliability and functionality (if equipped).
- Check all metal parts for rust and weld points, the integrity of wooden parts if any, and paint quality.
- Tune and lube locks for proper functioning.
How frequently you inspect your gates depends on several things:
The quality of the motor and its fit to your gate. Gate operators are expensive, and sometimes people attempt to save money by installing a cheaper quality operator. Some cut corners by electing too weak an operator for the weight of the gate and the opening and closing frequency.
When you have a cheaper quality motor or one that is too fragile for your gate, you must keep a closer eye on it. As soon as the gate slows down or seems to move in a less-than-smooth fashion, get it inspected and adjusted or repaired. Do your diligence. Look up the make and model of your operator. Check the manual and determine if your operator is a good fit for your gate and for how frequently you open and close your gate.
Contact the company who installed your gate for support with this, or call into our office for advice.
Now that we have the gate operator and moving parts mechanism behind us, we will see differences in the way we have to maintain the gates. Each traditional gate material has different maintenance requirements.
We are going to discuss these materials. Aluminum, Vinyl, Composite, Iron (Steel), and Wood.
Let’s go through all the common fence materials, one at a time.
Aluminum
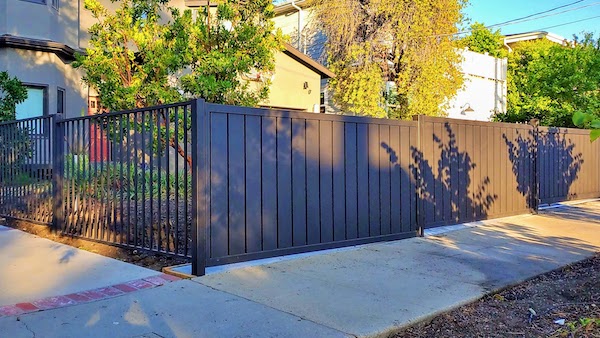
Note that virtually all aluminum fences sold for residential use are powder-coated. In the USA, this has been true since the early 1980s.
Prior to that, they sold aluminum painted.
Aluminum is very corrosion resistant, but it is not 100%. Exposed to the air, it forms a light layer of corrosion, gritty to the touch and not visually pleasing. Painting or powder-coating gets acts as a barrier to oxidation and corrosion and adds beauty to the fencing.
These are probably the lowest maintenance fence installations. People sometimes ignore these for years and they still are doing their job.
But it’s better if you schedule this in from time to time.
Aluminum Maintenance Tip #1: Wash your aluminum fencing.
How regularly? As often as you see that it is dirty. This depends on your environment.
Hose it down whenever you have the time. The coating on your fence is going to last 15-20 years. The primary culprit pushing that closer to 15 than 20 is surface dirt thrown up on your fence or gate by the wind and passing traffic.
Washing your system with soap and water will neutralize the corrosive aspects of the dirt and give your fence more years of carefree use.
Tip #2: Damaged aluminum fencing
It may happen that an accident, vandals, or your kids playing will damage your aluminum fence or gate. You can do minor touch-ups with a close-match of paint. People rarely notice these unless someone directly points them out. If that doesn’t work, contact your installer and see if they can replace the damaged piece. Aluminum fence fabricators usually screw weld or rivet these together, and they can often disassemble the damaged piece in order to re-coat and replace it.
Vinyl Fence Maintenance
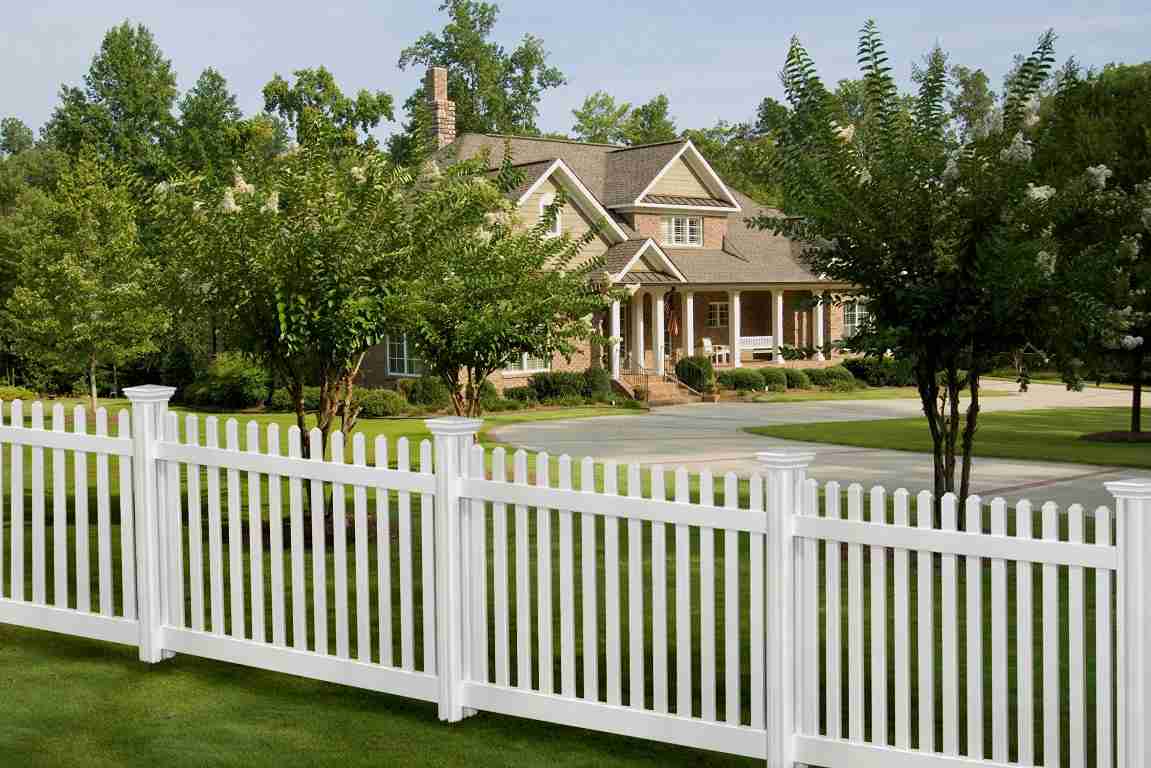
The “how-to” on aluminum isn’t that much different from aluminum. It’s not as carefree, but close! Here are your tips.
Tip #1: Clean your fence from time to time
Clean your vinyl fence whenever it gets dirty. Just like with aluminum, ordinarily a hose and a bucket of soapy water, clean rags, and a soft scrub brush. Try just hosing it off to begin with and then go after the more obstinate stuff with your soapy water and brush.
With vinyl it’s even more important to not use an abrasive cleaner, Brillo, or steel wall. Use of these materials can destroy the outer finish of your vinyl fence.
Tip #2: Use “Mr. Clean Magic Eraser” to clean stains on white vinyl fence.
We have heard that, if you have a white vinyl fence, you can use the Mr. Clean “Magic Eraser” product. This will get out the more stubborn stains and dirt. You use it with a small amount of water and you lightly scrub the area you wish to clean. But be careful! The magic eraser product has small amounts of a dry bleach light cleanser. You won’t want to use this on colored vinyl fence.
Tip #3: Head off mildew as soon as it forms.
If your environment is excessively damp, it’s possible that mold will form on your vinyl fence, particularly if it is in the shade. If you see mildew coming about, remove it before it grows and spreads.
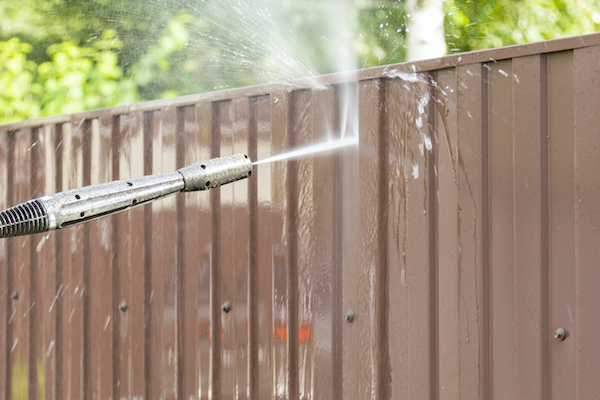
Often normal washing will take it right off. But when it doesn’t, try this recipe: mix 1/3 cup laundry detergent, 2/3 cup trisodium phosphate, and 4 cups of bleach. Nexus up with a gallon of water and then apply it on the mildew areas. You can either scrub the areas by hand or sprayed on with the power washer. In either case, apply protective gloves and eyewear.
This can take time. The faster way is to run a power washer. We suggest beginning with a maximum 1500 psi tip. First tested on an inconspicuous area to make sure the washer isn’t leaving any marks. If it makes marks, use a lower psi.
Tip #4: Never paint a vinyl fence!
This is a “no no”!
During the manufacturing process, they add chemicals to give vinyl fencing their color. You’re not supposed to paint over them. If you do, the paint won’t “fix” properly to the fence. Bubbles will form beneath the paint and the paint will peel. It won’t be pretty! The painting may void your fence warranty.
Tip #5: Keep your vinyl fence away from any heat source.
A vinyl fence can stand up to even the hottest summer day. But keep them far away from your barbecue grill or any outdoor heater. If they get too close, they’ll destroy your fence. Depending on the intensity of the heat, you may want these as far as 15 feet away. Be careful!
Tip #6: Before you may DIY repairs, reconsider screwing in any attachments.
Your vinyl fence will survive normal wear and tear, but accidents happen. Vinyl is the least robust of all the fence materials we are discussing. Bump into your vinyl fence with your lawnmower and you can do some damage. We recommend you first consult with your fence manufacturer or the contractor who installed it before going about any DIY repairs. If possible, you don’t want to void your warranty.
Composite Fence Maintenance
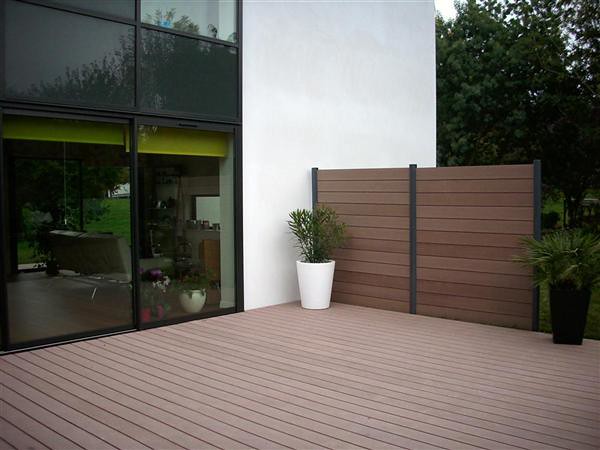
Composite fencing is a combination of wood fiber and plastic. The wood gives your fence installation the beauty of wood. The plastic gives it a long life and prevents rot or decay.
All the various composites have various brand names and best practices for cleaning. People who install composite fencing should get the maintenance instructions directly from the manufacturer. These materials have robust warranties, but choosing the wrong cleaning agents can void them. Take care.
Trex is far and away the most popular of all the composite brands. Here is a link to their composite maintenance guide.
We can say however that, like all the materials we are discussing, a soft brush with a mild soap and water is your most regular composite fence maintenance.
Iron Fencing Maintenance
Iron is the second most popular all-time fence material, coming in after wood. The first installations were around cathedrals in the 17th century. For centuries people only installed them in churches and for the very wealthy.
The 19th century brought with it advances in metal technology. Refined steel replaced iron as the principal fence material. Steel is an alloy of iron, and people now call steel fencing “iron fencing” but no one manufactures fully iron fencing any longer.
But affordable steel still rusts. In maintaining a modern iron fence or gate, your focus is on protecting the fence from water.
Iron Fence Maintenance Tip #1: At least once a year, more in coastal areas, scrutinize your installation.
Walk around the perimeter and look for exposed bare metal. Fully cover these with quality paint.
Iron Fence Maintenance Tip #2: Cut back any shrubbery or plant life from the fences.
Although climbing vines can look nice with a fence of this sort, they gradually deteriorate the finish of your fence and deter maintenance.
Iron Fence Maintenance Tip #3: Replace or repair anything bent or broken.
Photograph decorative features that are broken and contact iron fence manufacturers. Many of these decorative forms are classic designs and can be purchased more easily than repaired. You’ll be able to upload your images to get close or exact duplicates.
Iron Fence Maintenance Tip #4: Set up your sprinkler system so they avoid getting the fence wet.
If you can’t move your sprinklers, lower the pressure to them.
Iron Fence Maintenance Tip #5: Sand down rust spots and completely paint over them as soon as they are seen.
Fully handle rust whenever it appears. Untended, rust can seep beneath the paint and ruin your iron fence.
Iron Fence Maintenance Tip #6: Wash and wax your fence.
After cleaning your fencing with soap and water, apply any of the gel car waxes to provide a further level of protection above the paint. Get this done seasonally when the fence won’t become hot as you apply the car wax.
Iron Fence Maintenance Tip #7: Re-paint.
When your black fence turns gray, or your white fence looks dull, it’s time to repaint. Fully sand down to the metal any rust spots, and wherever you see the paint has chipped or is loose. Re-prime these areas, and then, with the rest of the fence, scratch it up with a steel brush so that the fresh paint can bond to the surface.
Paint faded fences to restore their vibrancy. If your black fence is now light gray or your white fence looks pale and dull, it is time to give it a fresh coat of paint. Fix and resolve any rust spots ahead of time. If the paint is peeling, cracking or bubbling in areas, sand this area down to the bare metal to remove these types of imperfections.
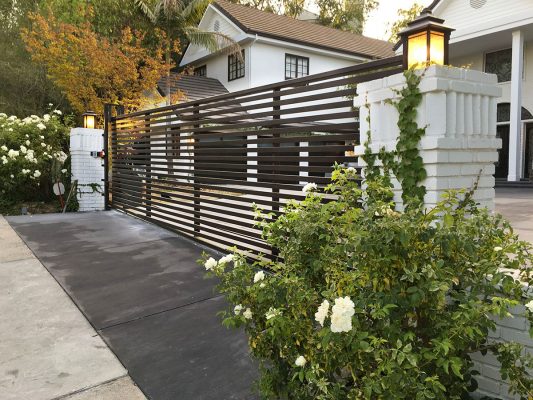
Wood Fence Maintenance
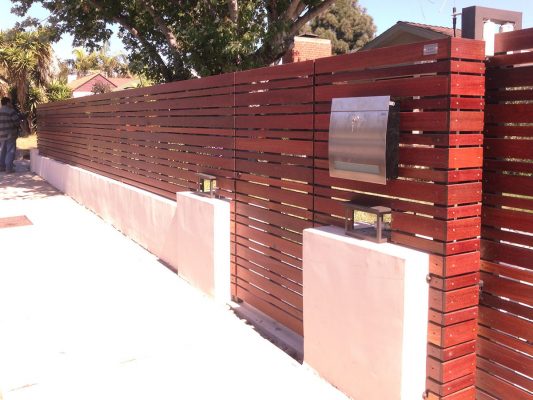
This is a broad subject. Wood was for thousands of years the only material for fences. There are dozens, if not hundreds, of species being used for fencing.
Some of these species of wood are more durable and easier to maintain than others. However, these are also are more expensive, and they often have a greater environmental impact when cut and processed.
So, the most common wood fence materials require the greatest maintenance. Unlike aluminum, vinyl, and the composites, you can’t safely ignore them for any considerable length of time.
When working out your protocol for wood care, consider that too much water and UV light rays are the major factors. After that are mold, mildew, algae, and insects.
We found this very thorough and carefully written article at Wikihow.
In Conclusion
So, there you have our tips for keeping your fencing looking good and keeping it in excellent condition. As with everything, “an ounce of prevention is worth a pound of cure”. Keep your fencing in good condition through proper care and you’ll require expensive repairs much less often.
Most of these maintenance tips require little expertise and not a lot of effort. When they do, please know that we are happy to do the dirty work for you! Call us and we’ll give you a hand.
GET IN TOUCH WITH US TODAY
If you have a project in mind, would like to see our prices, or simply want to check out our inventory in person; good news. We have factory tours and a showroom to help you plan out your current or future project. Call us up and talk to any of our friendly staff and ask us about our current schedule, or to explore ways we may be able to help you with your goals. If you’d like to see our latest projects, explore our inspiration gallery or follow us on Instagram, where we ongoingly post our latest completed projects.
Click the live chat at the bottom of the browser window and connect instantly with our team of experts.


FACTORY TOUR &
SHOWROOM
Make an appointment to visit our showroom, see product demos, and meet with design pros.